
Iridium Mail & Web App (Discontinued)
The Iridium Mail & Web App has been decommissioned. If you have any questions, please don’t hesitate to get in touch with your Iridium Service Provider.
How To Keep Sending & Receiving Emails with your Iridium GO!
Method 1: Use your Iridium GO! device’s SMS-to-email feature
Sending a message to an Email Address:
- Connect the smart device to the Iridium GO! device’s Wi-Fi network and Launch the Iridium GO! app
- Open Messages -> Select new message
- In the “TO” field, enter the recipient’s full email address. And in the message body, type your email content (up to 1000 chars)
- Hit Send.
- Your message will be delivered to the recipient’s inbox as a standard email and their response to the email will be delivered to you as an SMS.
Receiving an email on your Iridium GO! device:
- Use the email address 8816[number]@msg.iridium.com, with 8816[number] being your Iridium 8816 number.
Method 2: Switch to a third-party satellite email app
If you need access to a satellite email experience, several third-party apps offer alternatives. NOTE: These apps are provided by third parties, unrelated to Iridium. Terms and conditions apply; please read the app provider’s webpage before use.
PredictMail by PredictWind | Learn More
PredictWind is offering Iridium Mail & Web users an exclusive migration deal. Receive one month of PredictMail for free, plus a free DataHub and free shipping. Get offer details.
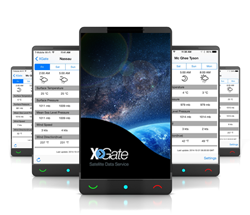
XGate by Pulsar | Learn More
For Iridium Mail & Web migrating users, use promo code IMW30, for a free 30-day trial.